Cheesy Chicken Chimichangas – Simple yet Flavorful
Believed to be created in Arizona, Chimichangas are a Mexican food inspired and somewhat related dish. Like, a cousin of Mexican food. A lot of times, they’re considered Tex-Mex, though I have seen them in plenty of Mexican restaurants as well (albeit all in the US with a more Americanized menu). These Cheesy Chicken Chimichangas are filled with chicken, spices, cheesy goodness, and baked. Baking makes them a bit more healthy than their fried restaurant style counterparts.
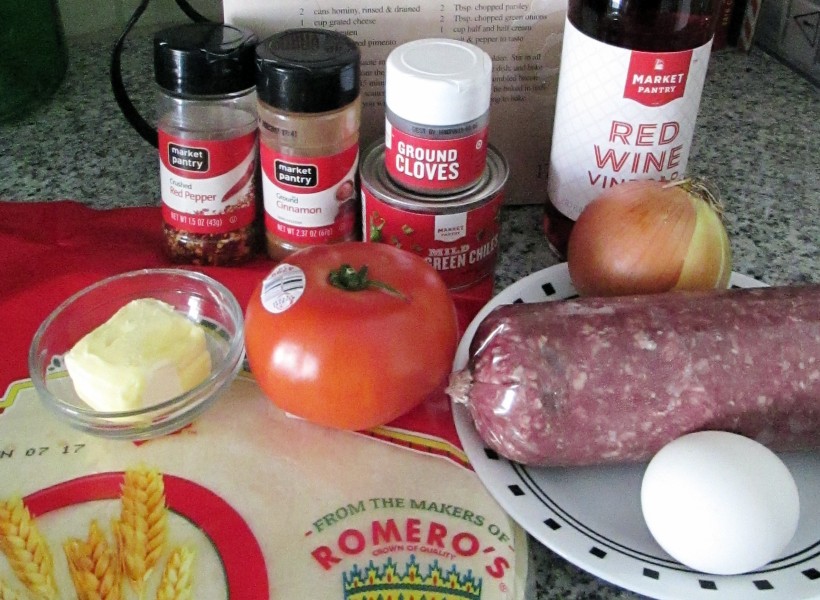
What You’ll Need
Listed below is what I used, you can always alter based on what you have on hand, ingredient or equipment wise. Whatever works for you.
Equipment
Equipment wise you’ll need a large baking sheet, a 9×13″ baking dish, large mixing bowl, and a large skillet. To shred the chicken, use the technique you prefer best, be it a hand or stand mixer, or two forks and some patience.
Cheesy Chicken Chimichangas Filling
Chicken – this will be the main ingredient of your filling. You can always switch up the meat, substitute for a non meat vegetarian or vegan version. See below for some recommendations on that.
Onion and Cream Cheese – These add to the flavor of your chicken to help create the base for the filling. The onion adds flavor and some moisture to the filling to keep it from drying out. The cream cheese besides becoming deliciously melty, helps to hold everything together and blend all the other ingredients.
Red Wine Vinegar, Paprika, Garlic Powder, Cumin, Black Pepper, Cinnamon, and Cloves – These ingredients bring the flavor to this dish, all standing out on their own, yet blending beautifully with the chicken, cheese, and onion.
Chili Powder, Crushed Red Pepper Flakes, Jalapeno, Diced Tomatoes and Green Chilis – Bring some heat to this dish with these (optional) ingredients. If your tolerance for heat isn’t very high, consider adding less or omitting some ingredients. Instead of the tomato/green chili combination, dice just a tomato instead to add to the skillet. Also, if your tolerance for heat is stronger, add these to your heart’s content.
Holding it Together
Tortillas – I prefer flour tortillas; however, you can opt for whatever works for you, though I think these fold and bake best.
Egg and Butter – The egg wash helps to seal the tortilla together as you fold it and bake. The butter helps to brown but not burn the tortilla while in the oven.
Sauce Ingredients
Cream of Chicken Soup – This soup is the base for your sauce, it has a light flavor and will absorb the heat from the jalapeno and tomato/chilis nicely without being overwhelmed.
Cheddar Cheese – Honestly, use whatever cheese you like, we just always have cheddar cheese on hand. Queso Fresco may work well either in the sauce or to top the entire dish with prior to serving.
Jalapenos and Tomatoes/Chilis – Add a bit of heat and color to your sauce.
Let’s Get to Cooking!
Make the Filling
To make the filling, you can start the night before or in the morning. This is especially important if you’ll be serving this dish on a busy night, making for a dinner party, or just want to make things easier come dinner time.
Preheat your oven to 350°F/175°C. Add the chicken to a greased or lined baking sheet and bake for 45 minutes. You can use this time to bring your cream cheese to room temperature, keep it near the oven to speed up the process.
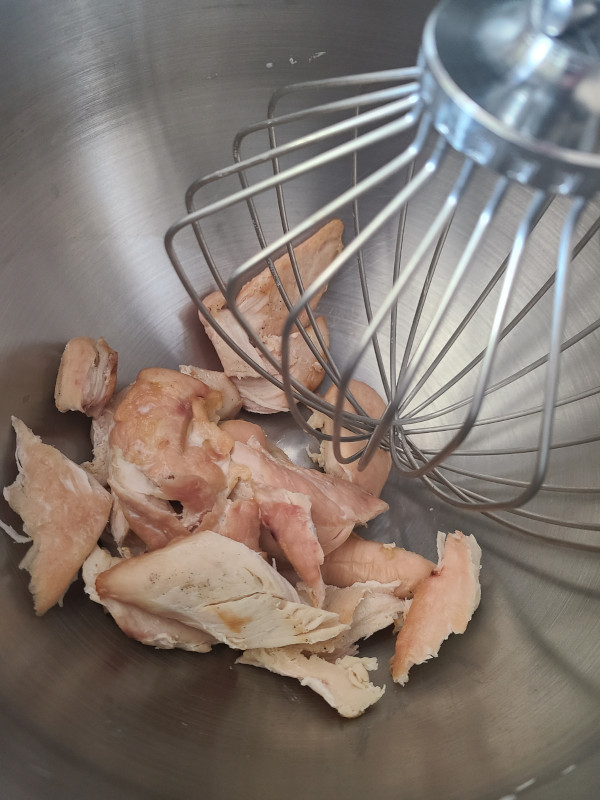
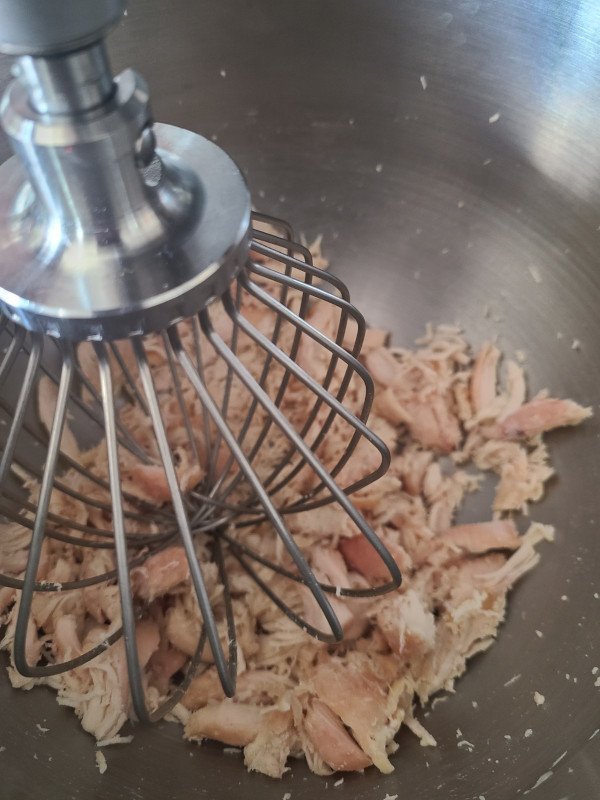
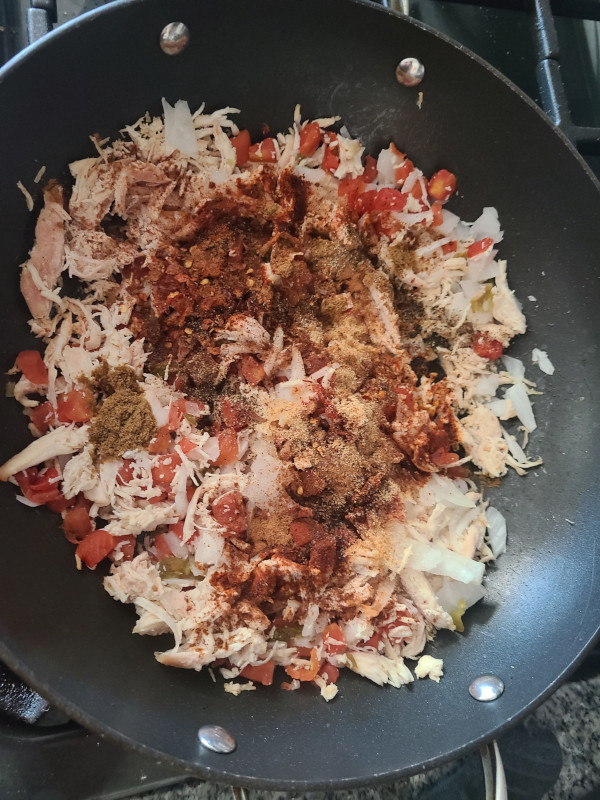
Once the chicken has baked and cooled just a bit, add it to a mixing bowl and shred however you prefer. I like to use my KitchenAid Stand mixer, but a hand mixer, or even two forks (and a bit of patience) work just as well. Next, you’ll add the rest of the filling ingredients (be sure to only add half the jalapeno and tomato/chilis), and mix until combined.
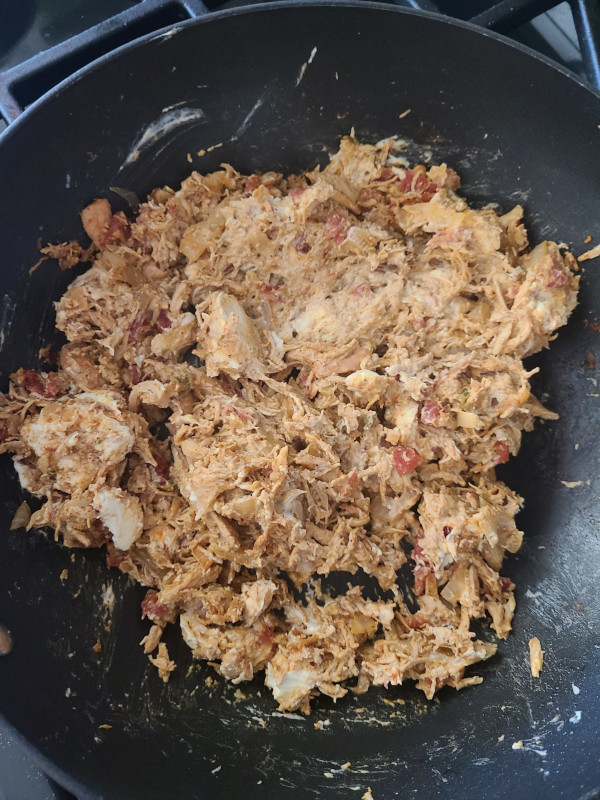
Your filling mixture can now be added to a large skillet over medium high heat. Use a non stick or greased skillet. Stir everything and heat for about 15 minutes uncovered until all ingredients are incorporated and your cream cheese has melted but isn’t bubbling.

Assemble Your Cheesy Chicken Chimichangas
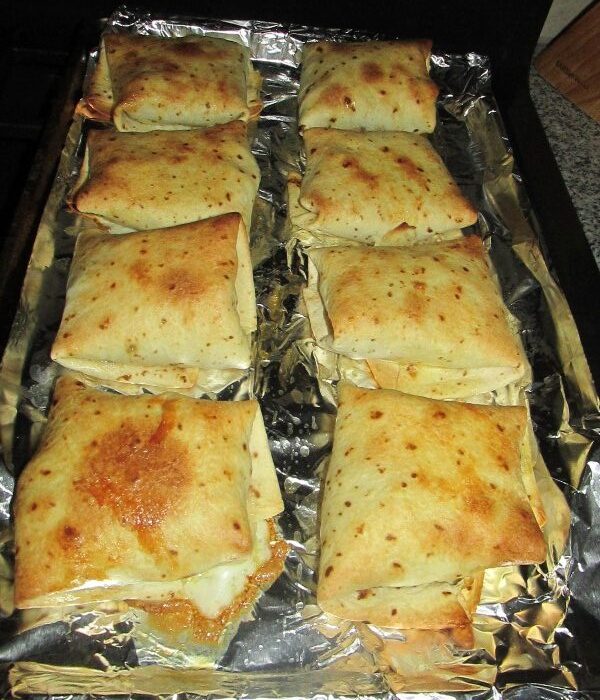
Warm your tortillas either on the stove or for about 30 seconds in the microwave to help soften them and prevent them from cracking when you fold them. Add about a a 1/2 cup of the cheesy chicken chimichangas filling to the center of each tortilla. Then, fold the bottom side of the tortilla up to about the center, and continue on the sides and the top and brush with egg to seal. Place chimichangas seam side down onto a parchment paper lined baking sheet or greased 9×13″ baking dish. Then you’ll brush the chimichanga tops with half of the melted butter.
Bake 12 minutes uncovered until lightly browned and heated throughout. Remove the pan or dish from the oven and flip the chimichangas. Butter sealed side, and bake 10-12 more minutes until heated throughout.
Making the Sauce
Wipe out the skillet you made the meat mixture in and add the soup, cheddar cheese and the rest of the jalapenos and tomatoes/chilis mixture from earlier. Heat all of that on medium-high heat for about 5-7 minutes (try to time with the last 5-10 minutes of the second round of baking).
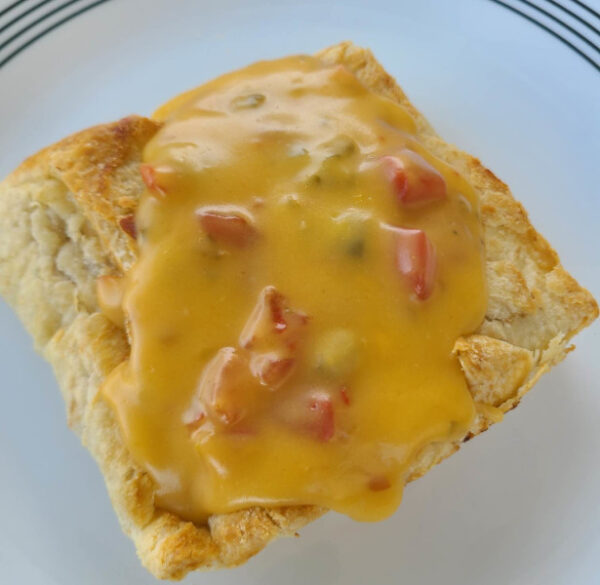
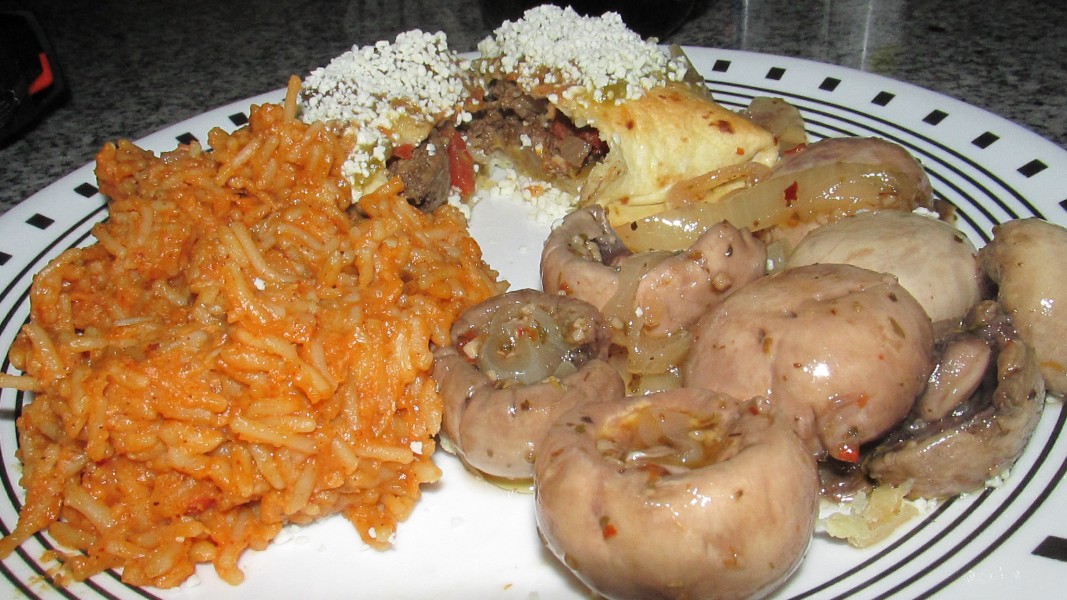
Finally once you’ve plated your chimichangas, top with the sauce and enjoy!
Cheesy Chicken Chimichangas recipe
Cheesy Chicken Chimichangas
Equipment
- 1 Large baking sheet, lined or greased
- 1 Large Mixing Bowl
- 1 Large Skillet
- 1 9×13" baking dish
- 1 Hand or Stand Mixer
Ingredients
Filling
- 1 lb chicken breast
- 1 small onion diced finely
- 8 oz cream cheese softened
- 1 tbsp red wine vinegar
- 1 tsp chili powder *optional if you don't like much heat
- 1 tsp crushed red pepper flakes *optional if you don't like much heat
- 1 tsp paprika
- 1 tsp garlic powder
- ½ tsp ground cumin
- ½ tsp black pepper
- ¼ tsp ground cinnamon
- ⅛ tsp ground cloves
- 1 jalapeno seeded and diced, divided *optional if you don't like much heat
- 1 10oz can diced tomatoes and green chilis divided
Tortilla
- 1 egg beaten
- 2 tbsp butter/margarine softened
- 8 10" flour tortillas
Sauce
- 1 10oz can cream of chicken soup
- 4 oz cheddar cheese or cheese of your choice
Instructions
Make Cheesy Chicken Filling
- Preheat oven to 350°F/175°C
- Bake Chicken for 45 minutes.
- Once chicken has cooled a bit, add to a mixing bowl, break apart and shred.
- Add onion, cream cheese, red wine vinegar, chili powder, crushed red pepper flakes, paprika, garlic powder, cumin, black pepper, cinnamon, cloves, half of the jalapeno, and half the can of tomatoes/chili. Mix and add to greased or non stick skillet.
- Simmer for 15 minutes uncovered to blend ingredients together and melt cream cheese.
Fill and Seal Tortillas
- Preheat oven to 400°F
- Warm Tortillas in a separate pan or for 30 seconds in the microwave.
- Spoon about 1/2 cup of cheesy chicken mixture into the center of each tortilla. Fold the bottom side of the tortilla up to about the center, and continue on the sides, then the top. Brush with egg to seal. Wipe out the skillet, you'll use it later.
- Place seam side down onto a parchment paper lined baking sheet or greased 9×13 baking dish. Brush tops with half of melted butter.
- Bake 12 minutes uncovered until lightly browned and heated throughout.
- Flip, butter sealed side, and bake 10-12 more minutes until heated throughout.
Make Sauce
- After flipping chimichangas to bake once more, add soup, remainder of jalapeno, remainder of tomatoes/chilis can, and cheddar cheese to skillet used earlier. Heat on medium high heat until all ingredients are blended for 5-7 minutes.
- Top chimichangas with warm sauce, serve, and enjoy!
See more of our recipes!
Storage
These are best if leftover are eaten within 2-3 days after making. I wouldn’t go any further than that. We have not tried to freeze, defrost, and bake again, but if we do that I’ll update here!
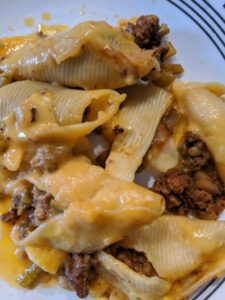
Change It Up
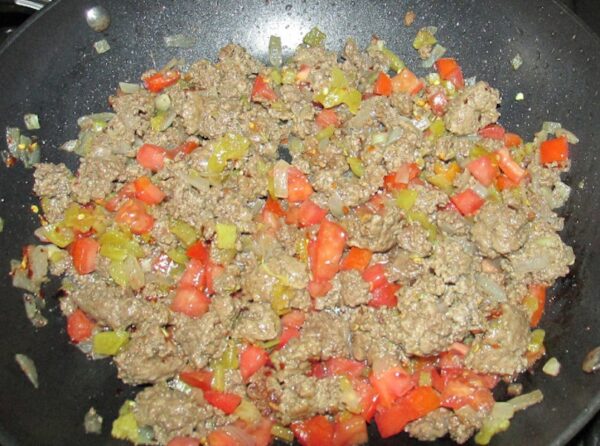
I’ve also made them with beef, chopped tomatoes, and a can of green chilies (in lieu of the chicken and Rotel respectively). They turned out fantastic . This first attempt also had no cheese sauce, cheesy filling, or jalapenos. This just kind of shows that you can easily adjust this recipe to your taste and liking. We just topped with salsa and queso fresco that time.
Make them Vegetarian
It would be super simple to make these vegetarian. Substitute the meat with a combination of mushrooms, black beans, and vegetarian refried beans. If you wanted that “ground meat texture” I would suggest plant based meat, or tofu ground up maybe? My thought on the tofu would be something like Chipotle’s Sofritas option that reminds me of ground beef.
For a vegan version I don’t really have any good recommendations for the sauce, so I won’t say anything to lead you astray. If anyone has any recommendations, let us know in the comments!
Cheesy Chicken Chimichangas Final Thoughts
This particular instance I didn’t grease the baking dish enough so they did stick a bit, but that didn’t affect the taste at all. The egg wash and butter wash made the tortillas so light and crispy when backed. The sauce and filling had a nice hint of spice but nothing overwhelming. These will be made again and again with beef or chicken. Perhaps next time I’ll try my vegetarian reccomendation.
If you made this recipe, let us know in the comments! IF we’ve missed a step, let us know that too! Also be sure to tag us on whatever social media outlet you prefer so we can see your take on the recipe!